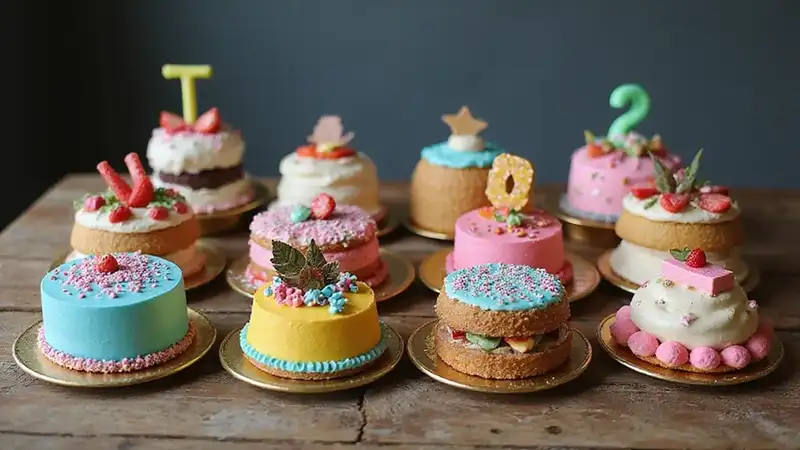
There's nothing quite like a perfectly baked vanilla cake to brighten up any occasion. Whether it’s a birthday, anniversary, or just a cozy night in, a slice of fluffy vanilla goodness is always a hit.
10 Baking Secrets for the Perfect Vanilla Cake (You’ll Want to Share #5!)
Baking Tools We Love
See all →
Best Seller Cake Decorating Kit
View on Amazon 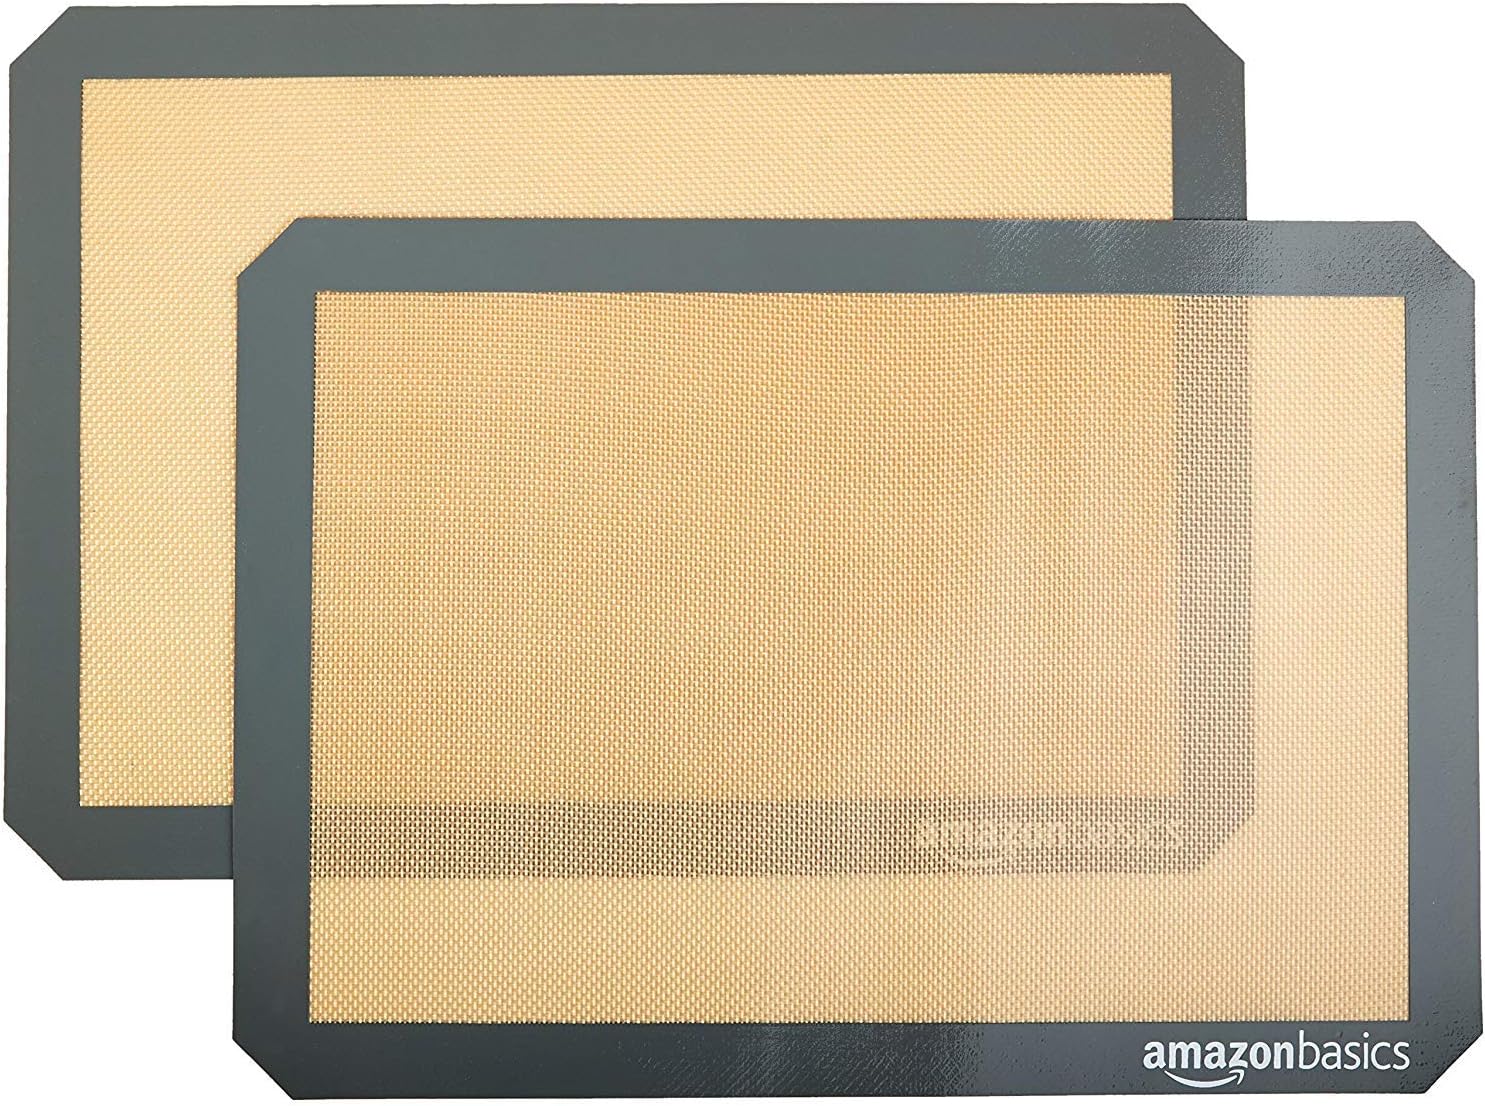
Top Rated Silicone Baking Mat
View on Amazon 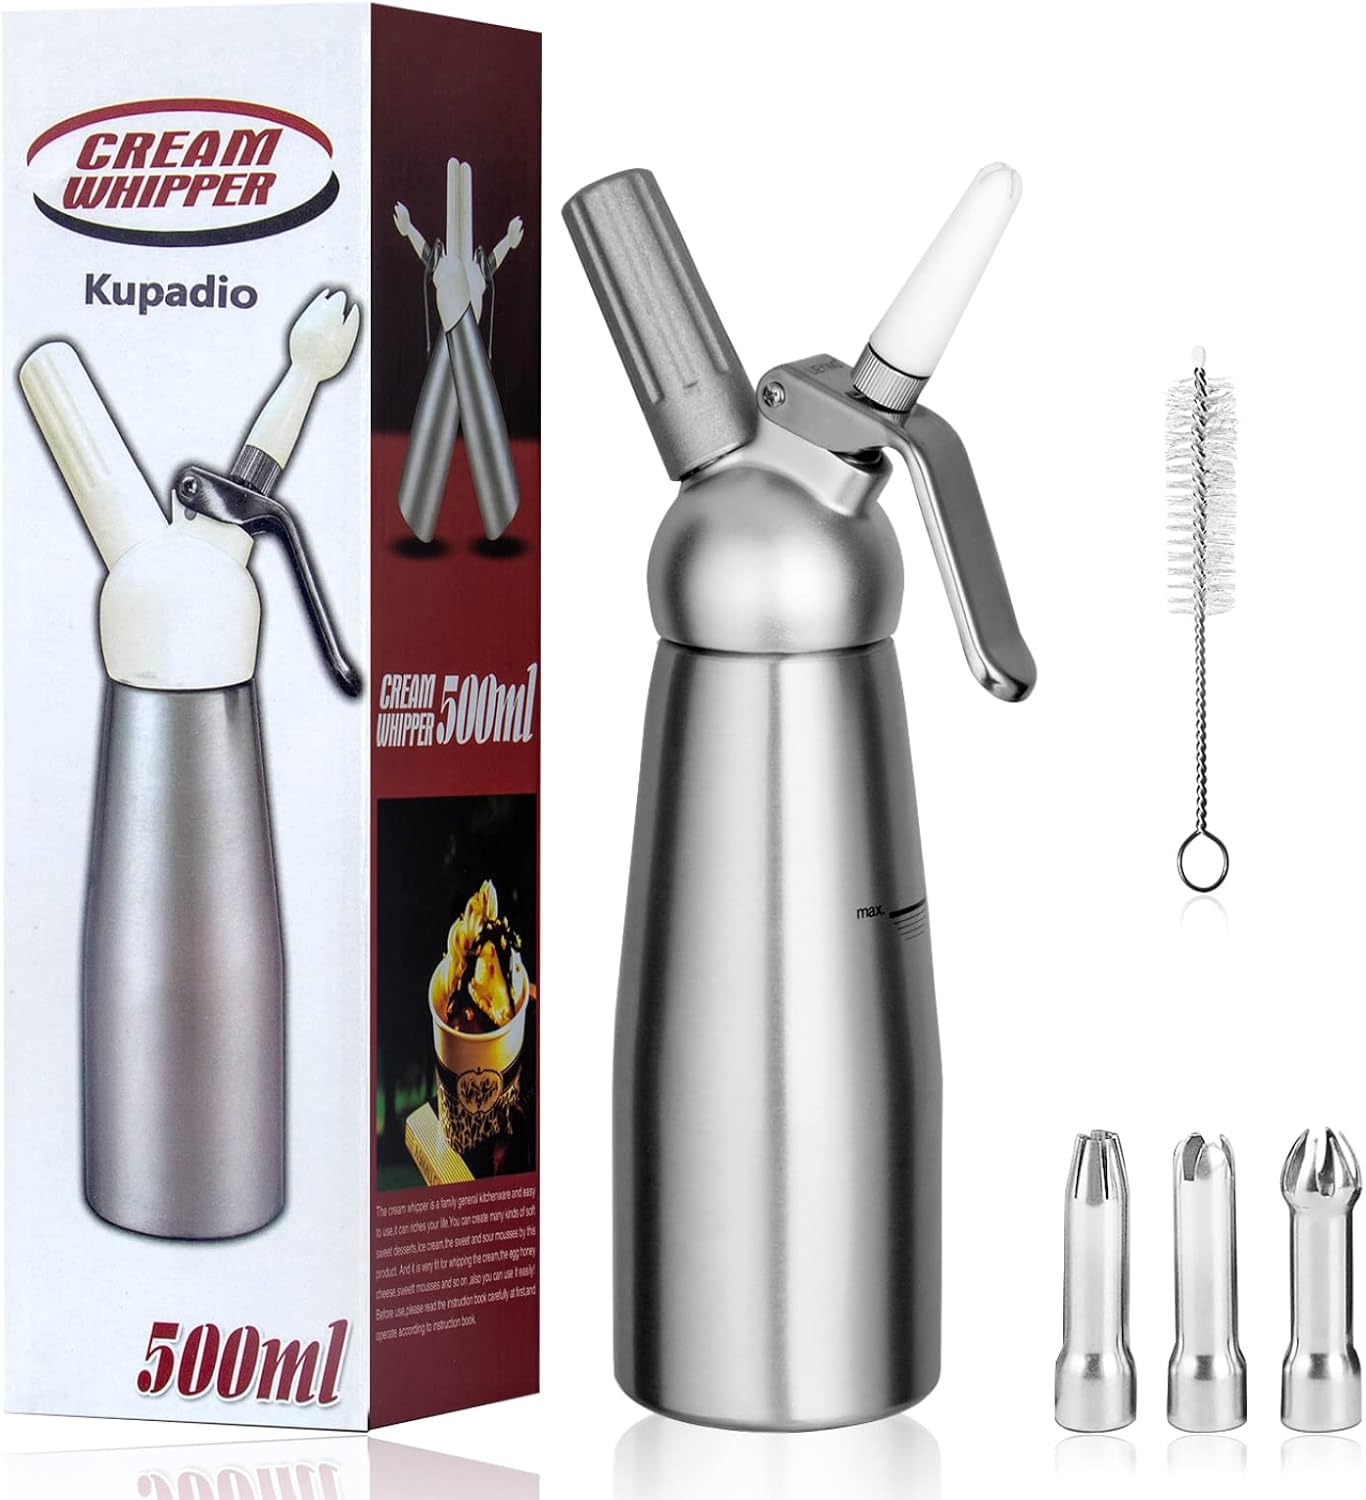
Popular Whipped Cream Dispenser
View on Amazon 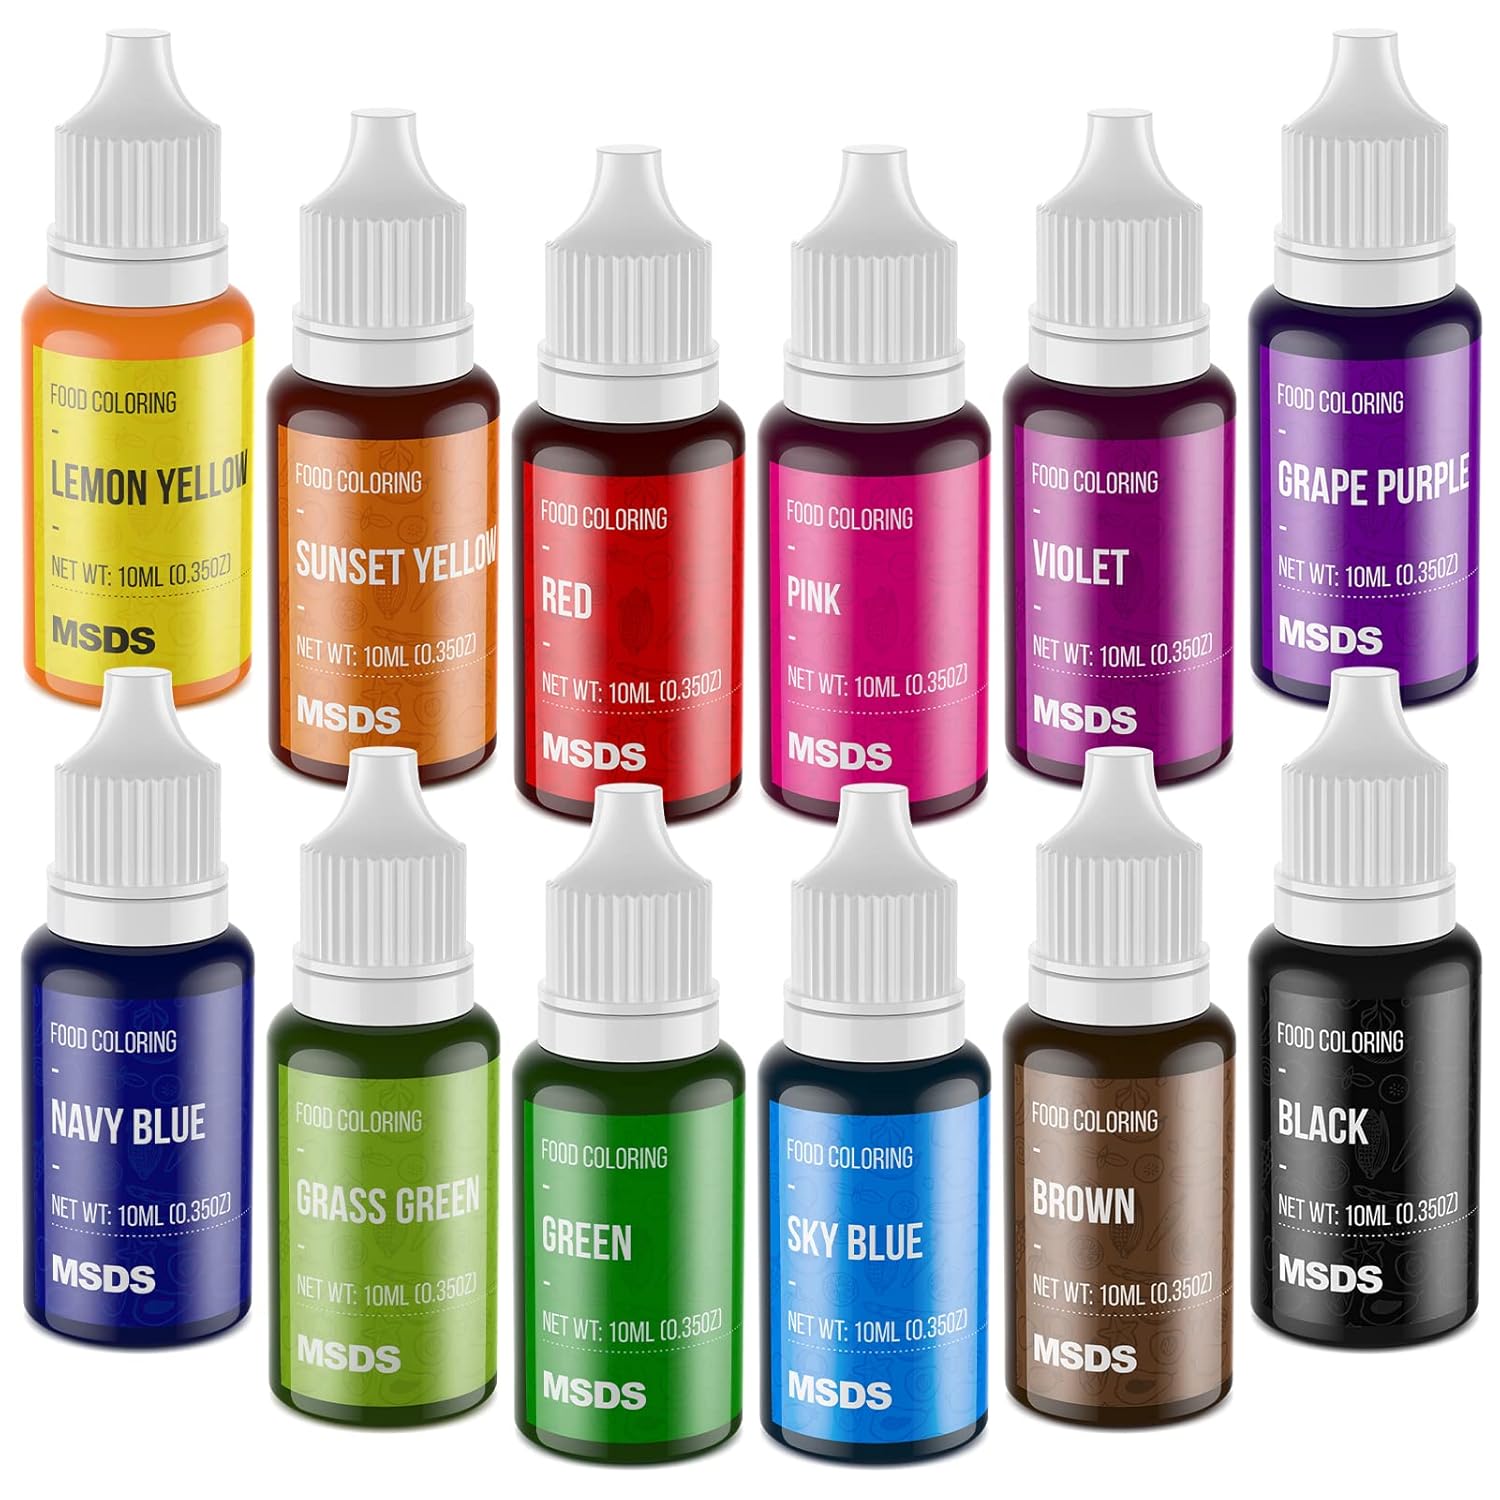
12 Colors Food Coloring Gel Set
View on Amazon 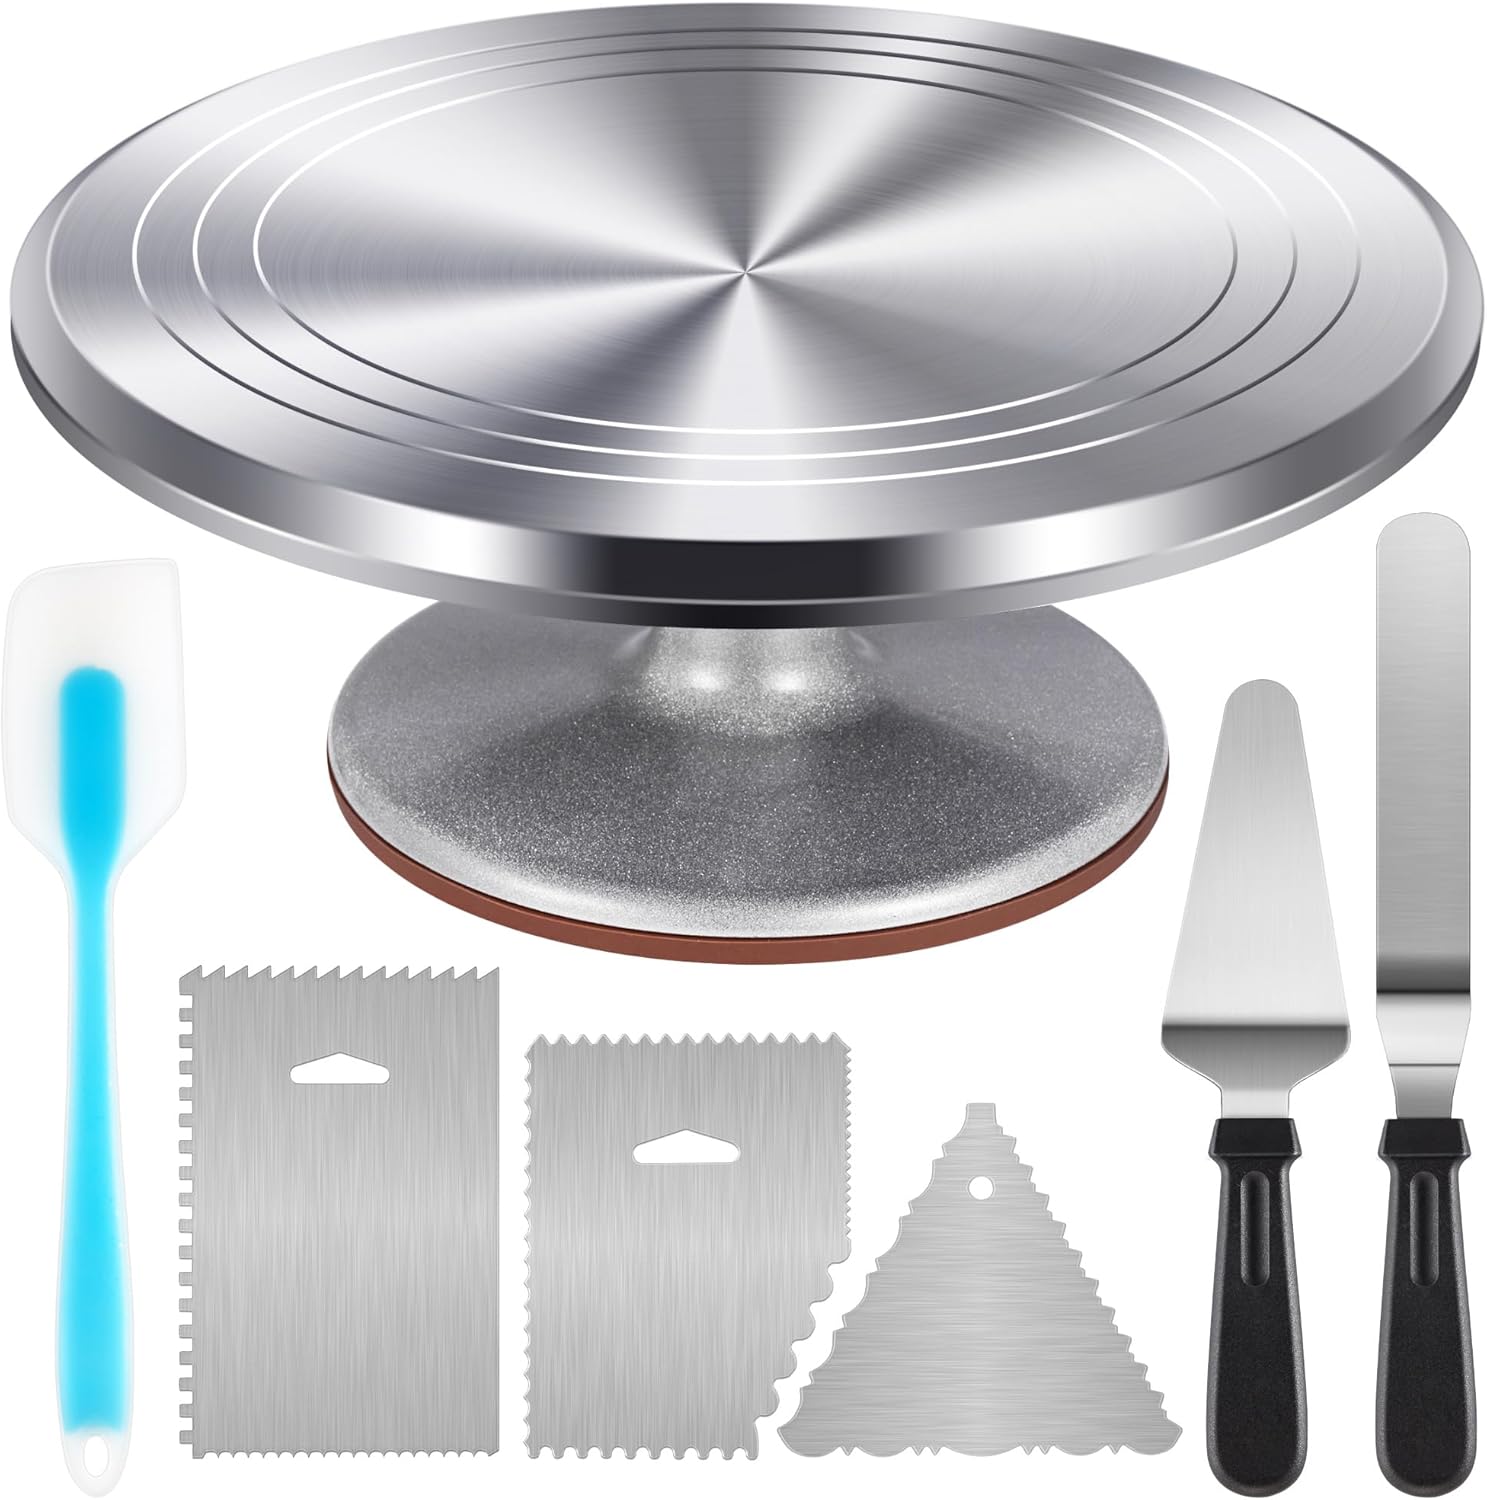
Must Have Cake Turntable
View on Amazon 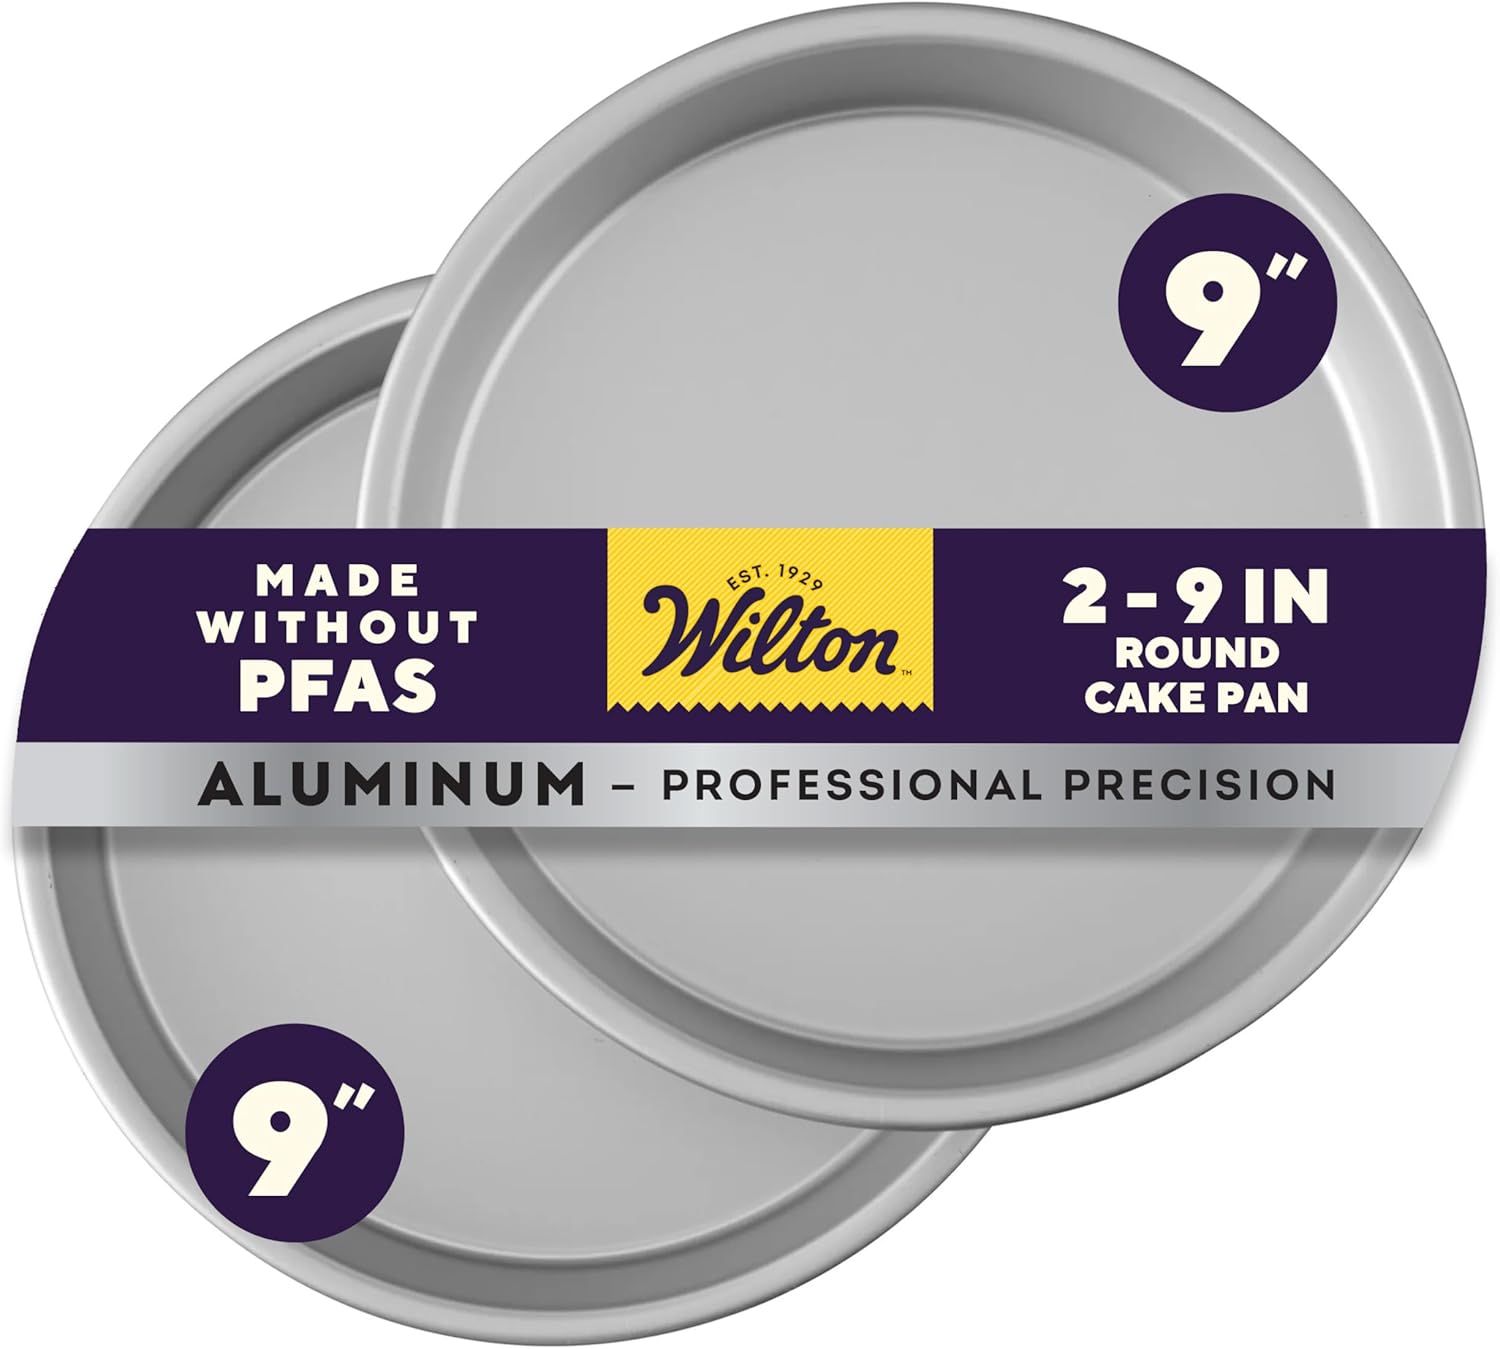
Essential Round Cake Pans
View on Amazon 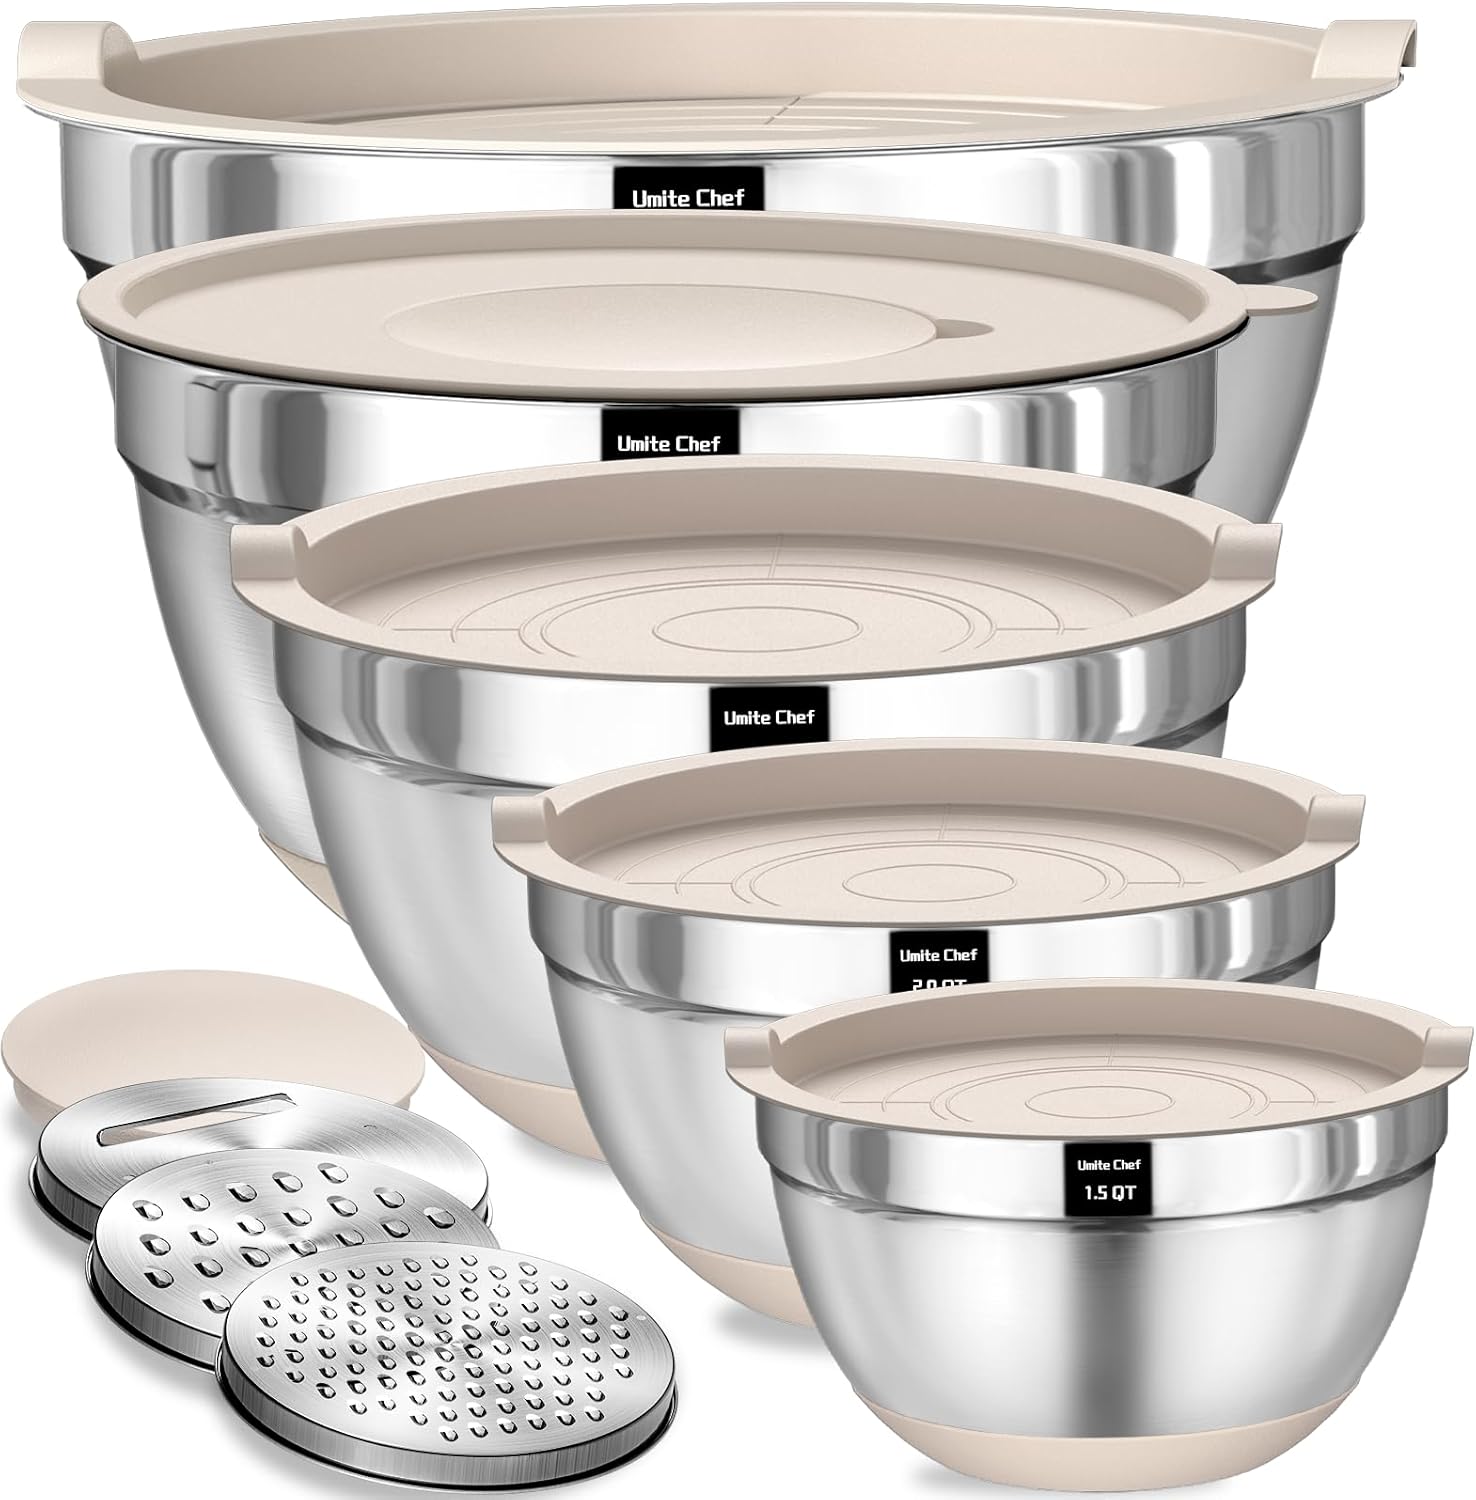
Top Pick Mixing Bowls Set
View on Amazon 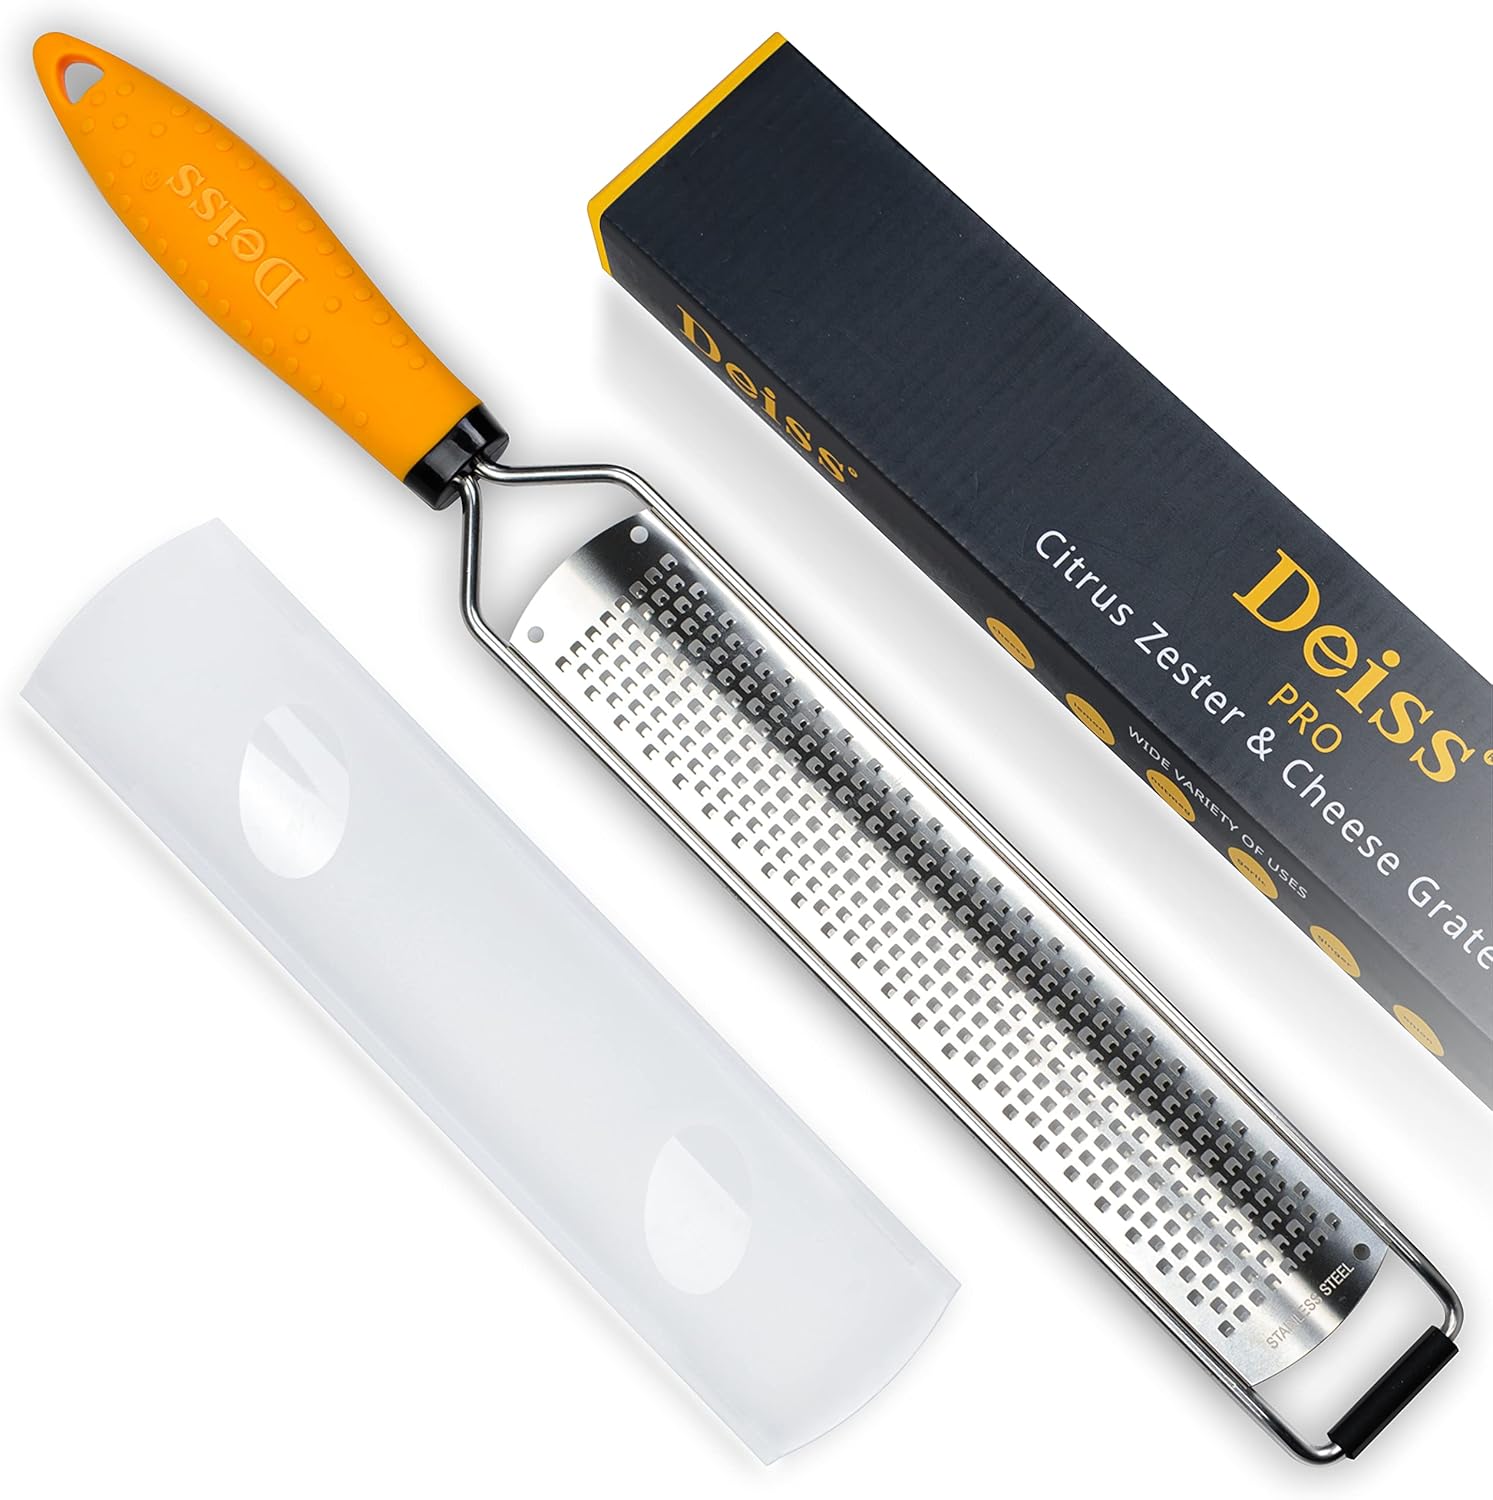
Sharp Lemon Zester & Grater
View on Amazon 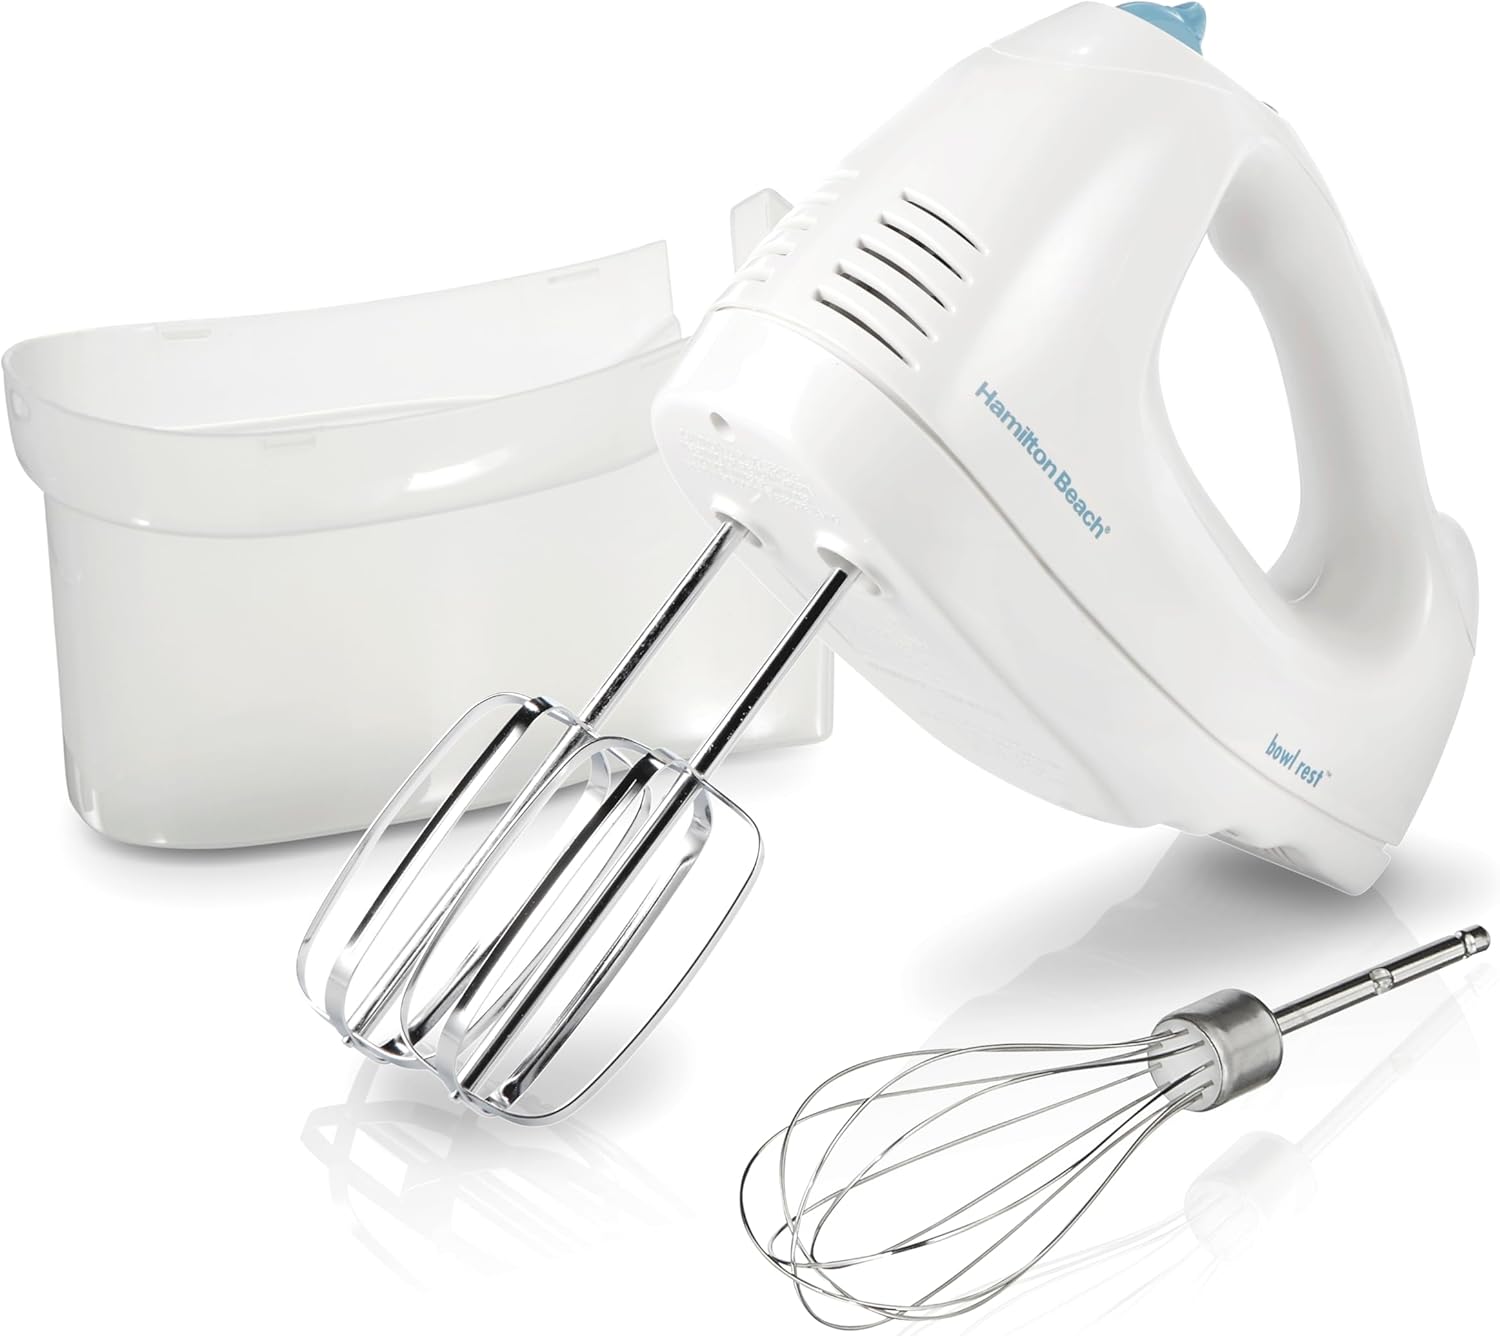
Affordable Electric Hand Mixer
View on Amazon 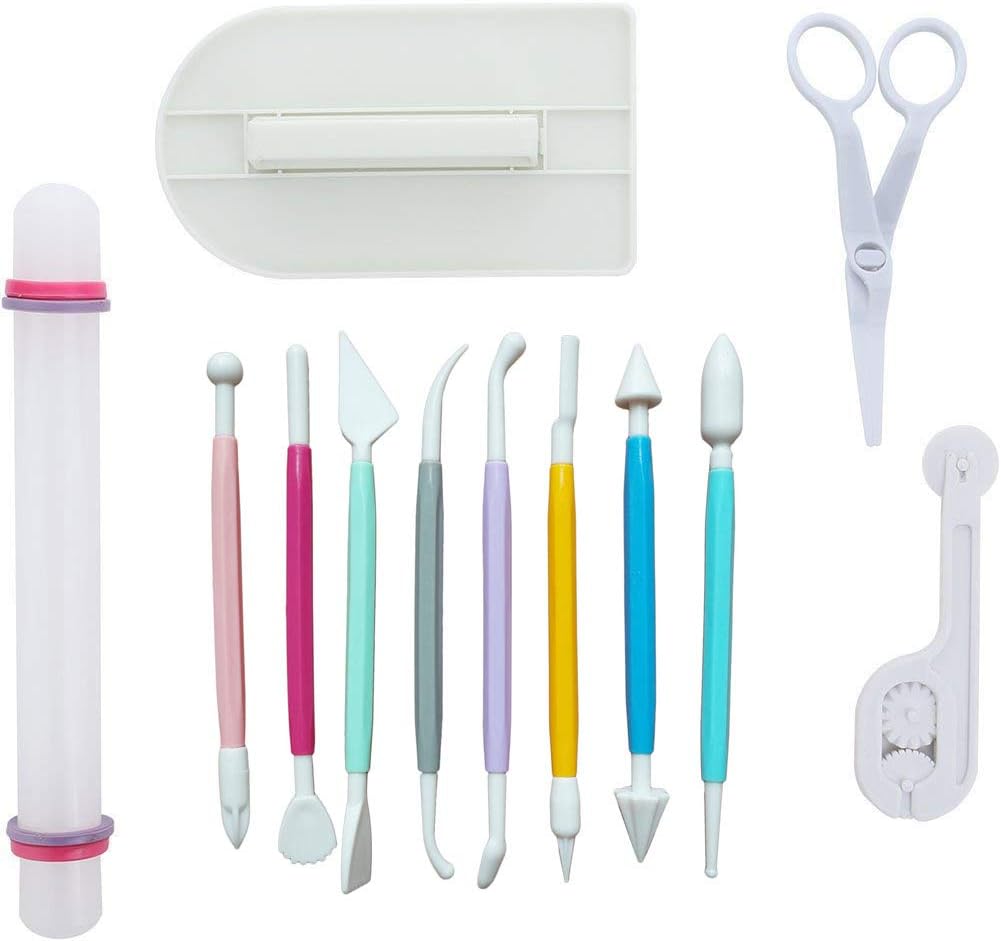
46 Pieces Fondant Tools Set
View on Amazon 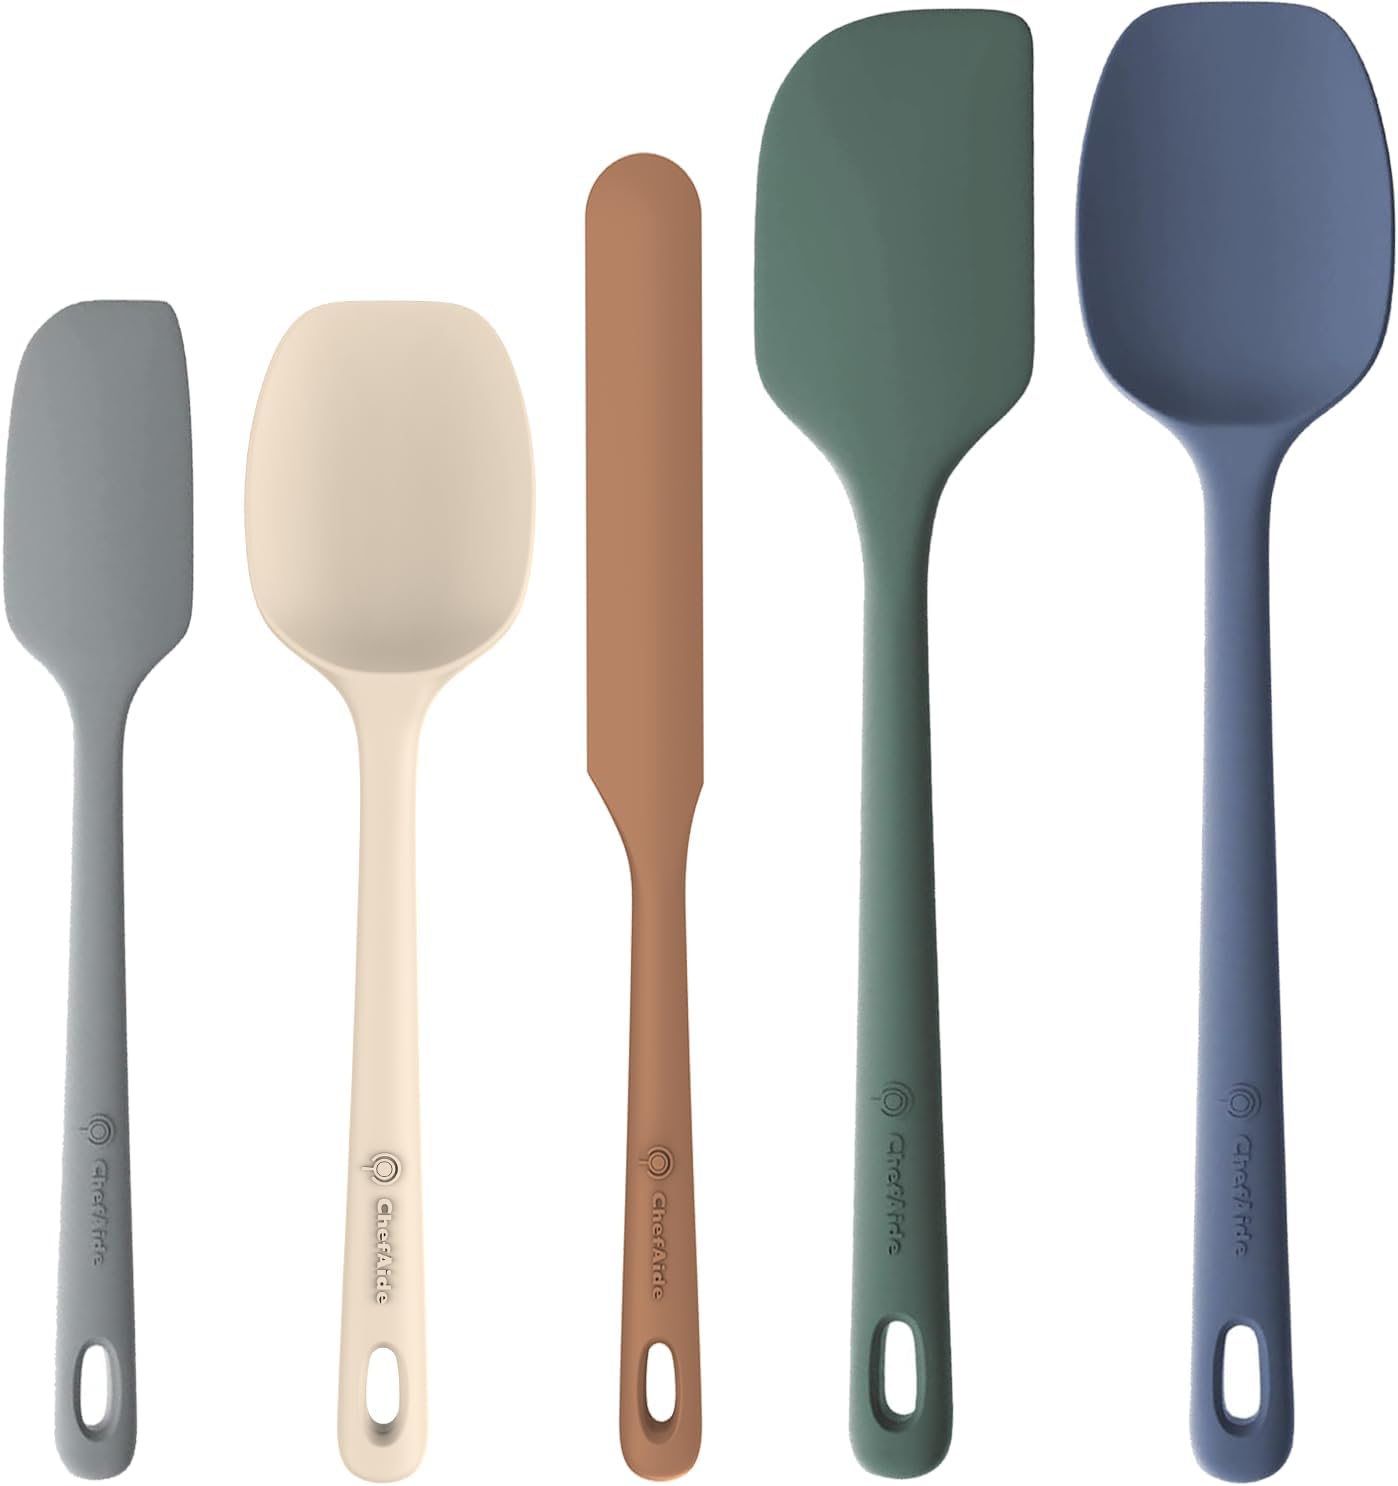
Heat Safe Silicone Spatula Set
View on Amazon 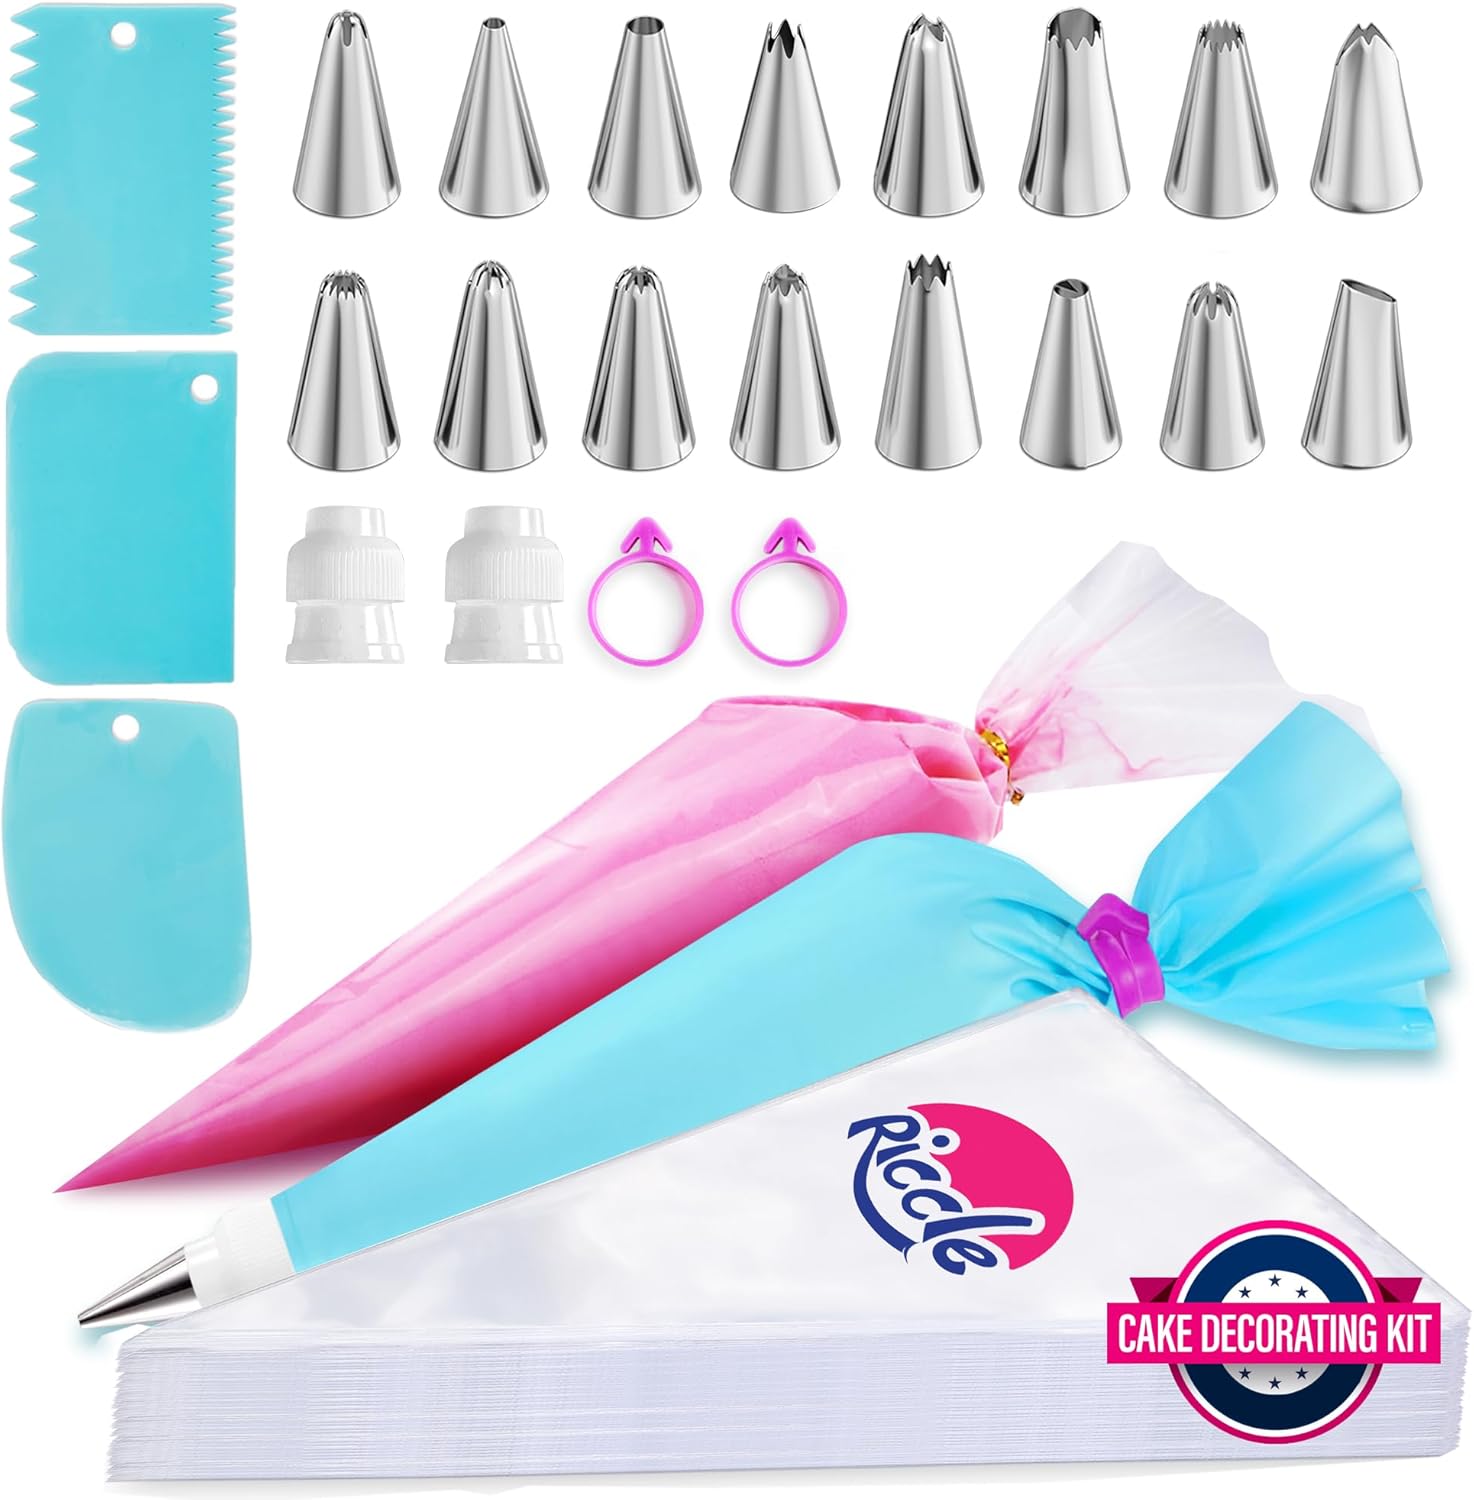
Pro Set Piping Bag & Tips
View on Amazon
Baking a vanilla cake that stands out takes more than just following a recipe; it’s an art form and a science! From selecting the right ingredients to mastering the techniques, this article will guide you through 10 essential baking secrets that will elevate your vanilla cake game to a whole new level. You'll find tips that not only enhance flavor but also help achieve that perfect texture. Get ready to impress your friends and family with your baking skills—they won't believe you made it at home!
Let’s get baking and discover these delightful secrets that will make your vanilla cake the star of the show!
1. Choose Quality Ingredients
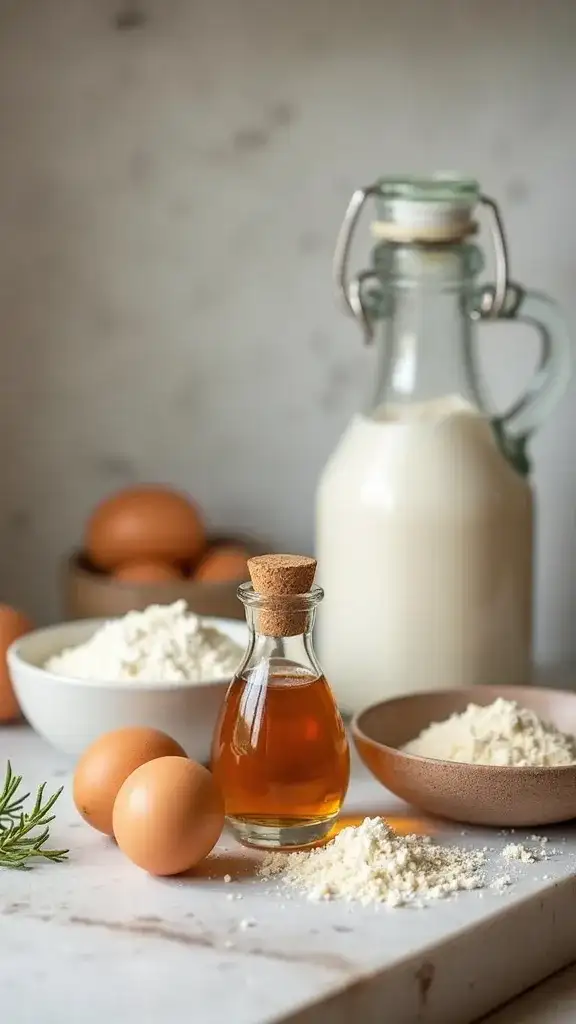
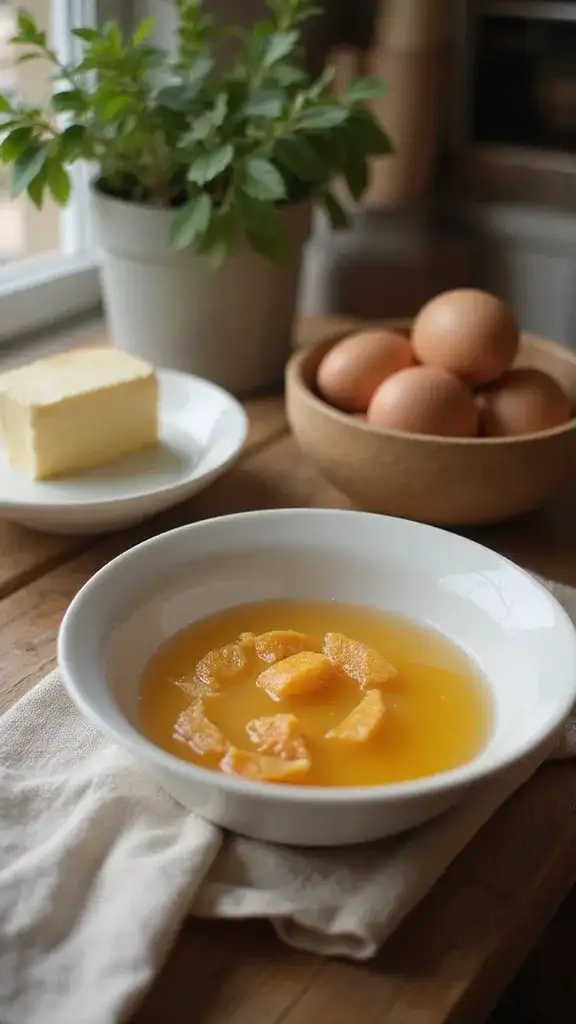
The foundation of any great vanilla cake lies in the quality of your ingredients. Always opt for pure vanilla extract, such as McCormick Vanilla Extract, Pure, instead of imitation vanilla, as the flavor difference is astounding. This premium extract, made with Madagascar vanilla beans, can truly transform your cake into something special.
Using high-quality butter, like Amazon Grocery Sweet Cream Butter, is equally important; its rich creaminess contributes significantly to the cake's texture and taste. Eggs should be fresh and at room temperature to help create a light and fluffy batter. Additionally, choosing cake flour, such as Red Kirin Cake Flour, instead of all-purpose flour can make a noticeable difference in the cake’s crumb, leading to a tender and delicate texture.
Here are some tips:
- Look for organic or free-range eggs for better flavor.
- Invest in a good brand of vanilla extract, as it can elevate your baking.
- Sift your flour to aerate it, ensuring a lighter cake.
Quality ingredients are the secret to a cake that not only tastes amazing but also feels special.
Quality ingredients are the secret to a show-stopping vanilla cake! Remember, pure vanilla extract and fresh eggs can elevate your baking from ordinary to extraordinary.
2. The Importance of Room Temperature Ingredients
Baking is all about chemistry, and temperature plays a crucial role. Bringing your butter, eggs, and milk to room temperature ensures they blend seamlessly, creating a light and airy batter.
When butter is too cold, it can form chunks that don't incorporate well, resulting in a dense cake. Likewise, cold eggs can lead to an uneven batter. Allow your ingredients to sit out for about 30 minutes before mixing; it makes a world of difference!
To assist with this process, consider using a mixing bowls set that features airtight lids. This set includes various sizes, allowing you to store your room temperature ingredients easily while they come to the right consistency. The non-slip bottoms ensure stability while mixing, which is crucial for achieving that perfect batter.
Here are some additional tips:
- Leave butter out to soften; it should be pliable but not melted.
- To quickly warm eggs, place them in a bowl of warm water for about 10 minutes.
- Milk can be left out or warmed slightly in the microwave to get it to the right temperature.
Taking this simple step ensures a perfect blend, leading to a fluffy vanilla cake.
3. Don’t Overmix Your Batter
Mixing your cake batter might seem straightforward, but overmixing can lead to a tough cake. This happens because you develop gluten in the flour, making the cake dense instead of light.
When combining your wet and dry ingredients, mix until just combined, even if there are a few lumps left. Those little lumps of flour will bake out, leaving you with a tender crumb.
Here are some pointers:
- Use a silicone spatula set for gentle folding to combine the ingredients without overworking the batter. The ergonomic grip and heat resistance make it a versatile tool for all your baking needs.
- Keep an eye on the clock; a kitchen timer is perfect for timing your mixing. It helps you stick to the recommended 30 seconds once the dry ingredients are added—no more guessing!
- Remember, a few lumps are okay; perfect isn’t the goal! Using mixing bowls allows you to see and manage the batter more easily, ensuring you’re not overmixing.
By mastering this technique, your vanilla cake will boast that coveted soft and fluffy texture.
4. Use the Right Baking Pan
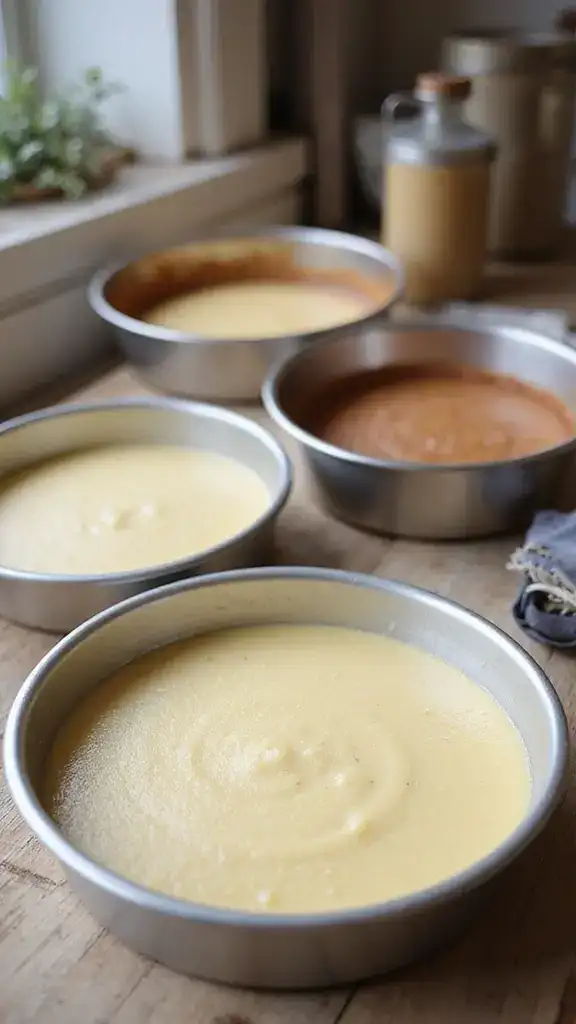
The baking pan you choose impacts your cake’s shape and texture. Light-colored, shiny pans reflect heat and allow for even baking, while dark pans can lead to over-browning. A great choice is the Wilton Aluminum 2-Piece Round Cake Pan Set, which includes a 9-inch round pan suitable for standard cakes. This durable anodized bakeware ensures even heating and helps your cake achieve that perfect rise.
Make sure the pan is properly greased and floured to prevent sticking. For added assurance, consider using parchment paper circles. Just cut a circle to fit the bottom of the pan to create a non-stick surface that makes release a breeze.
Some tips to follow:
- Always check your pans for scratches or wear to ensure even baking.
- Rotate the pan halfway through baking for an even rise.
- Test for doneness with a toothpick; it should come out clean.
Choosing the right pan and using helpful tools like parchment paper can significantly enhance your baking experience, ensuring your cake bakes uniformly and releases without a hitch!
5. Measure Carefully
Precision is essential in baking, and the way you measure ingredients can make or break your vanilla cake. Using a kitchen scale, such as a digital kitchen scale, for dry ingredients ensures accuracy, while liquid measurements should be done using a clear measuring cup like the clear liquid measuring cup.
When measuring flour, be sure to spoon it into the measuring cup without packing it down, and level it off with a knife. Excess flour can lead to a dry cake, while too little can make it dense.
Here are some tips:
- Use the spoon-and-level method for dry ingredients.
- For sticky ingredients like honey or molasses, lightly spray the measuring cup with cooking spray for easy pouring.
- Invest in a good digital scale for perfect measurements every time.
Measuring accurately leads to consistent results, ensuring that your cake turns out delicious every time. Remember, too much flour can lead to dryness, while too little makes it dense. Get it right, and you’ll have cake perfection!
You might also like

10 Easy Apple Cake Recipes That Will Make You the Star of Every Gathering! - CakeIdeasNow
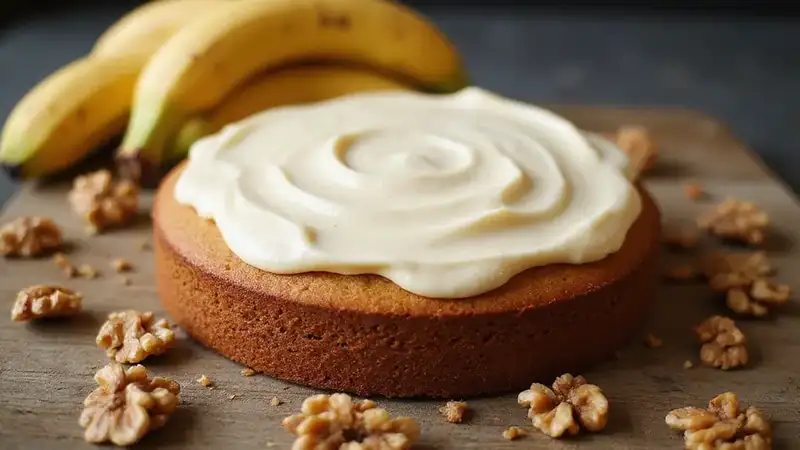
The Ultimate Homemade Banana Cake with Cream Cheese Frosting Recipe You’ll Want to Make Again! - CakeIdeasNow
Baking Tools We Love
See all → Best Seller Cake Decorating Kit
View on Amazon Top Rated Silicone Baking Mat
View on Amazon Popular Whipped Cream Dispenser
View on Amazon 12 Colors Food Coloring Gel Set
View on Amazon Must Have Cake Turntable
View on Amazon Essential Round Cake Pans
View on Amazon Top Pick Mixing Bowls Set
View on Amazon Sharp Lemon Zester & Grater
View on Amazon Affordable Electric Hand Mixer
View on Amazon 46 Pieces Fondant Tools Set
View on Amazon Heat Safe Silicone Spatula Set
View on Amazon Pro Set Piping Bag & Tips
View on Amazon 6. Preheat Your Oven
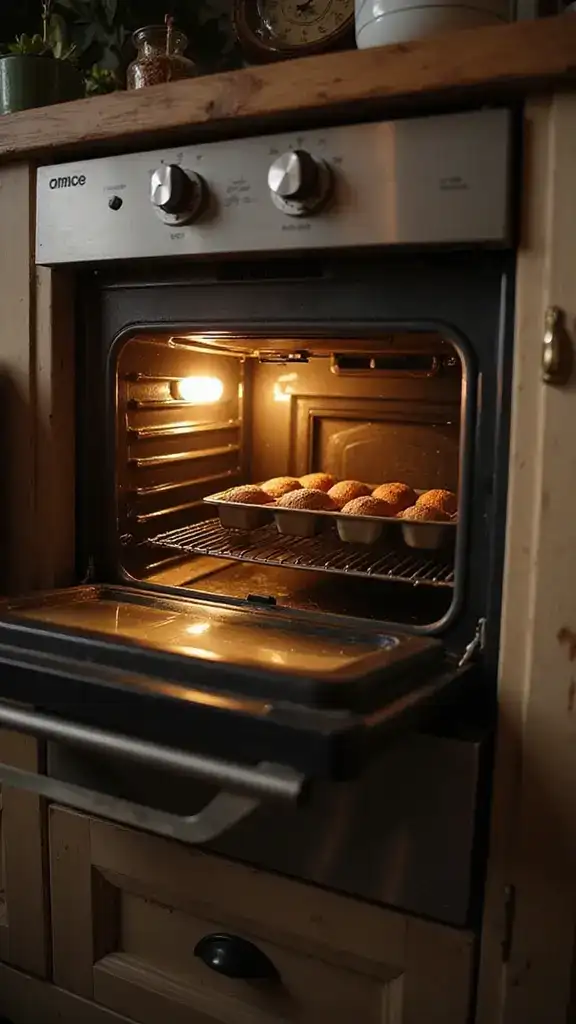
### 6. Preheat Your Oven
Never underestimate the power of a properly preheated oven! Starting with a hot oven helps your cake rise quickly, creating that lovely fluffy texture you desire.
You should preheat your oven at least 20-30 minutes before baking to ensure it's at the right temperature. To help with this, consider using an oven thermometer. This handy tool can verify the accuracy of your oven's temperature, as many home ovens can be off by quite a bit.
A few reminders:
- Avoid opening the oven door too often during baking; it can drop the temperature and affect the rise.
- Place your cake in the center of the oven for even heat distribution.
- If you're baking multiple layers, rotate the pans halfway through to ensure uniform baking.
A well-preheated oven is your best friend when it comes to achieving that perfect vanilla cake!
A perfectly preheated oven is the unsung hero of baking! Just 20 minutes can turn your vanilla cake from average to absolutely fluffy and divine. Remember, patience pays off in delicious layers!
7. Don’t Skip Cooling
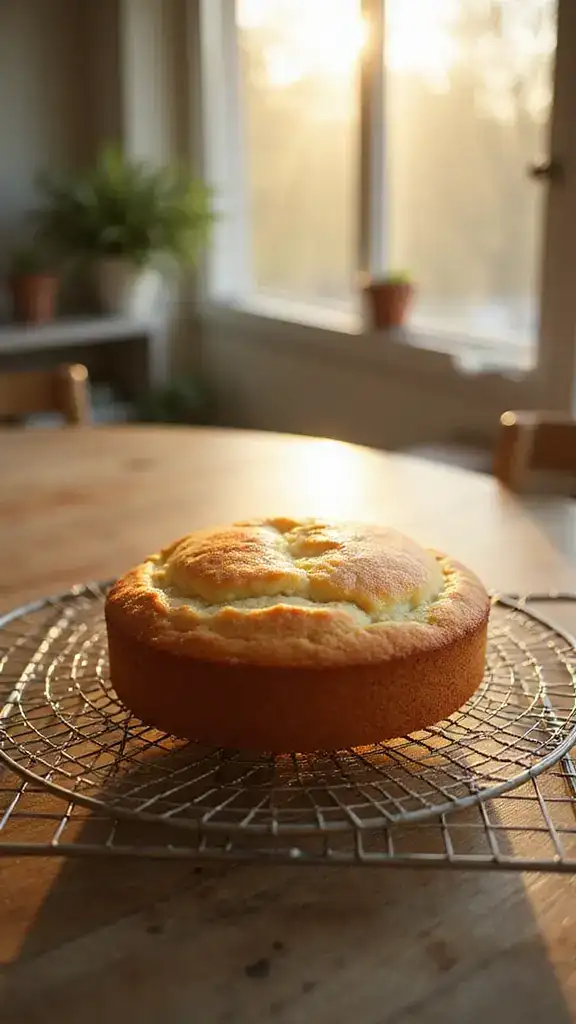
Cooling your cake properly is just as important as the baking itself. Once your cake is out of the oven, let it cool in the pan for about 10 minutes before transferring it to a wire rack. This prevents moisture from building up in the pan and keeps your cake from becoming soggy. Using a reliable wire cooling rack allows air to circulate around the cake, preventing the bottom from getting wet and ensuring even cooling.
Here are some cooling tips:
- Check for doneness with a toothpick before you cool; it should come out clean. Having a handy set of toothpicks for testing doneness can help you make sure your cake is perfectly baked before letting it cool.
- Keep the cake in the pan for the recommended time before turning it out.
- Forgetting to cool properly can lead to a cake that crumbles when you frost it.
Taking the time to cool your cake properly ensures a beautiful and stable base for your frosting.
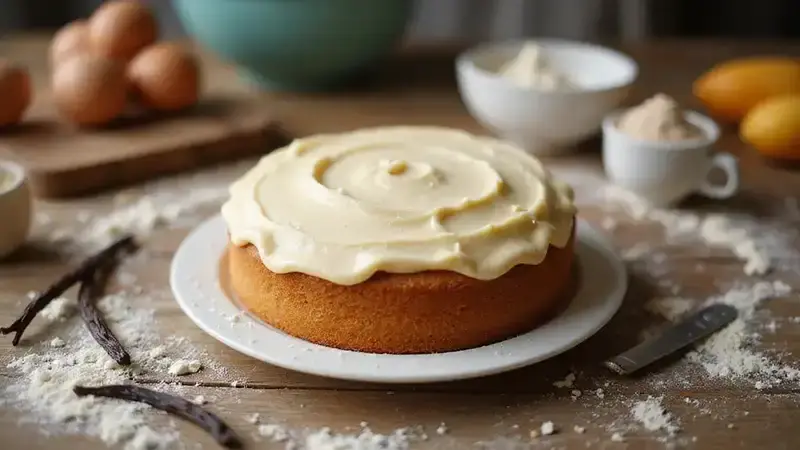
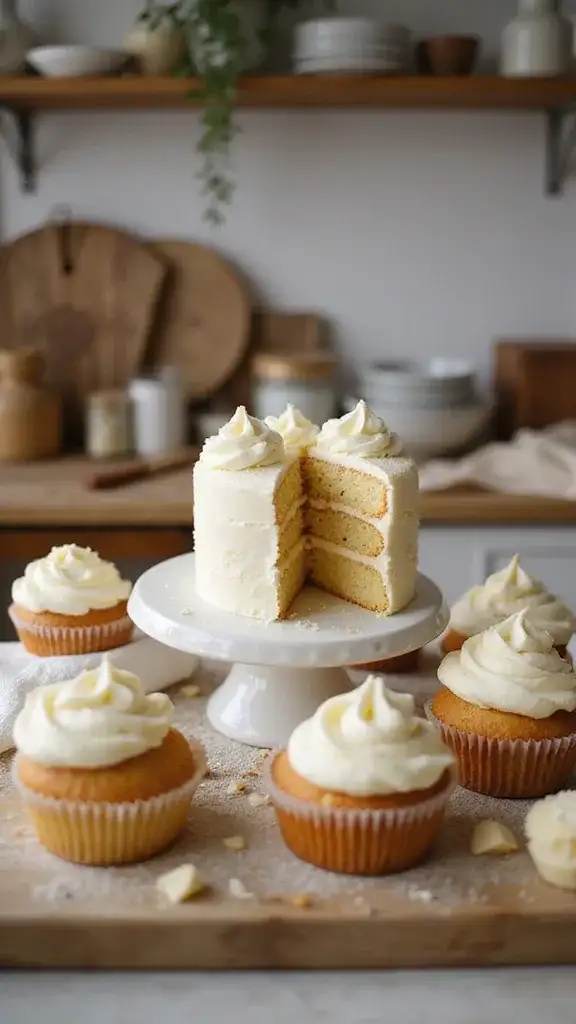
8. Frosting Tips for the Perfect Finish
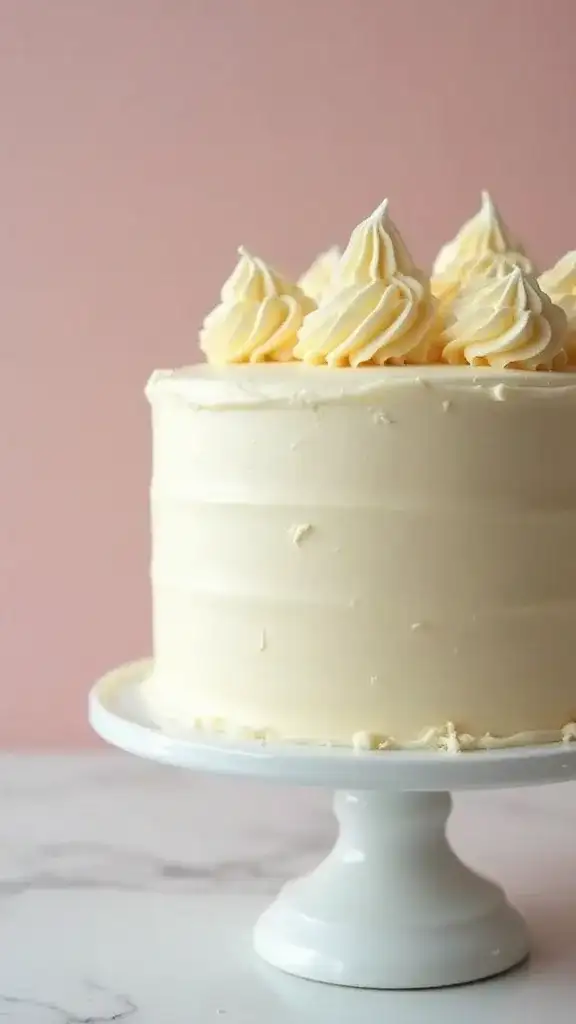
Frosting can make or break your vanilla cake, and achieving that smooth finish is an art. Always use a completely cooled cake before frosting to prevent melting and sliding.
For a smooth frosting, start with a crumb coat—a thin layer of frosting that seals in crumbs. Chill the cake for about 30 minutes before applying the final layer of frosting, which allows for a clean and polished look.
Consider these frosting secrets:
- Use an offset spatula for easy spreading and precise control, ensuring a beautifully even finish.
- Incorporate a touch of heavy cream into your frosting for a lighter texture that makes it easier to work with.
- Don’t hesitate to experiment with flavors; try adding lemon zest or espresso for a twist!
With these tips and the right tools, your frosting will not only look fantastic but also taste amazing!
You Might Also Like
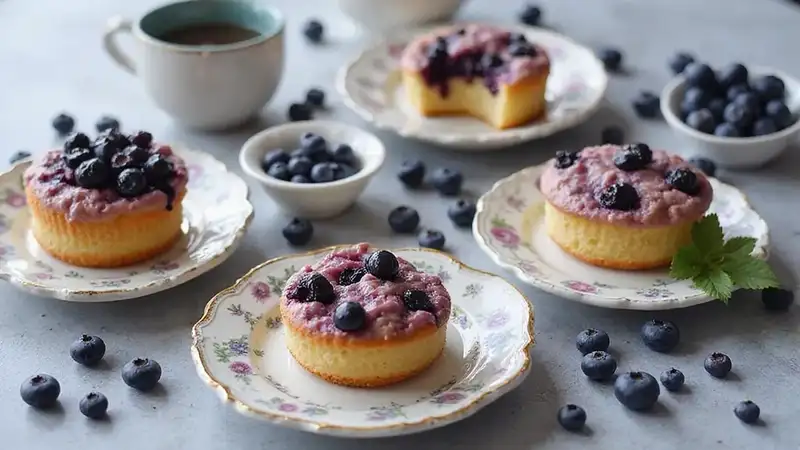
12 Show-Stopping Blueberry Cakes Perfect for Your Next Celebration! - CakeIdeasNow
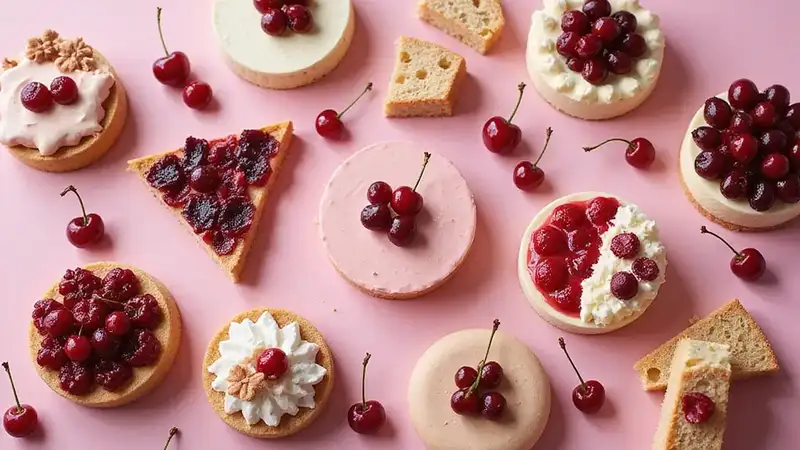
14 Unique Cherry Cake Variations That Will Blow Your Mind! - CakeIdeasNow
9. Personal Touches Make a Difference
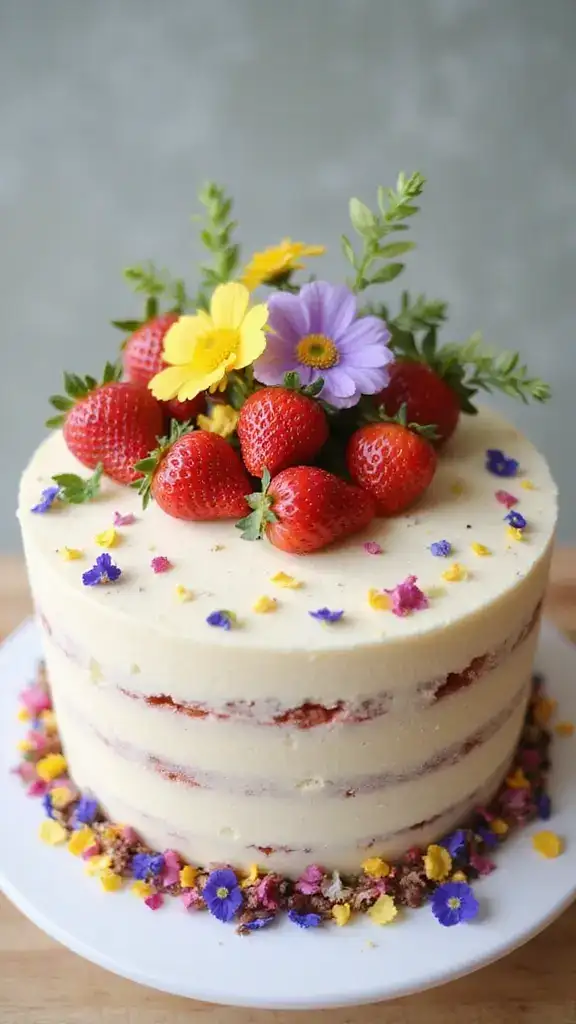
Adding a personal touch to your vanilla cake can turn a simple dessert into something truly special. Consider experimenting with fillings, toppings, or unique flavor combinations to wow your guests.
For example, a layered vanilla cake with strawberry jam and whipped cream in the middle adds a delightful twist. You can also top your cake with fresh berries, edible flowers, or a drizzle of chocolate for visual and culinary appeal. For those edible embellishments, edible flowers for cake decoration can elevate your cake’s presentation and taste, providing a beautiful and natural touch.
Keep these ideas in mind:
- Think about seasonal ingredients for a fresh taste. Incorporating flavors like pure vanilla, almond, or lemon can really enhance your cake. A great way to explore these flavors is with the flavor extracts set, which allows you to pick your own flavors to create a unique experience.
- Incorporate spices like cinnamon or nutmeg for a cozy flavor that resonates with warmth.
- Use decorative sprinkles or nuts for texture and color, and make your decorating process easy and fun with the cake decorating kit. This kit includes a variety of icing piping tips, spatulas, and a turntable that make adding those finishing touches effortless.
A personal flair is what makes your cake memorable!
Baking Tools We Love
See all → Best Seller Cake Decorating Kit
View on Amazon Top Rated Silicone Baking Mat
View on Amazon Popular Whipped Cream Dispenser
View on Amazon 12 Colors Food Coloring Gel Set
View on Amazon Must Have Cake Turntable
View on Amazon Essential Round Cake Pans
View on Amazon Top Pick Mixing Bowls Set
View on Amazon Sharp Lemon Zester & Grater
View on Amazon Affordable Electric Hand Mixer
View on Amazon 46 Pieces Fondant Tools Set
View on Amazon Heat Safe Silicone Spatula Set
View on Amazon Pro Set Piping Bag & Tips
View on Amazon 10. Practice Makes Perfect
Baking is a skill, and like any skill, it gets better with practice. Don’t be discouraged if your first vanilla cake doesn’t turn out perfect; learn from any mistakes and adjust your techniques next time.
Every time you bake, you build intuition about your oven, ingredients, and personal preferences. Keep trying different recipes, adjusting baking times, or experimenting with flavors until you find what works for you.
To make the process smoother, consider using a silicone baking mat. This non-stick surface can help prevent your cake from sticking to the pan, ensuring an easier release and a more visually appealing cake. Additionally, a digital kitchen scale can be your best friend in achieving precise measurements for your ingredients, which is crucial for baking success.
Here are a few encouraging reminders:
- Take notes on what went well and what could be improved.
- Share your creations with friends and family for constructive feedback.
- Enjoy the process; baking should be fun!
For more inspiration and techniques, you might want to check out the Baking Cookbook. With over 575 recipes and tips, it can provide you with new ideas to try in your baking journey.
Embrace the journey, and soon your vanilla cake will be a crowd favorite!
Baking is all about practice! Each cake is a lesson learned. So embrace the imperfections, take notes, and let every bake bring you closer to your perfect vanilla cake!
Conclusion
Baking the perfect vanilla cake is a delightful journey filled with learning and creativity. By following these ten tips, you’ll not only enhance your baking skills but also create cakes that are sure to impress!
Remember, every baker has their unique style, so embrace your creativity and have fun in the kitchen. Happy baking!
Note: We aim to provide accurate product links, but some may occasionally expire or become unavailable. If this happens, please search directly on Amazon for the product or a suitable alternative.
This post contains Amazon affiliate links, meaning I may earn a small commission if you purchase through my links, at no extra cost to you.
Frequently Asked Questions
To bake a brilliant vanilla cake, start with high-quality ingredients. Always choose pure vanilla extract instead of imitation, as it greatly enhances the flavor. Don't forget the basics: fresh eggs, unsalted butter, and premium flour are key to achieving that perfect texture!
What are the essential ingredients for the perfect vanilla cake?
Using room temperature ingredients is crucial for a light and airy vanilla cake. When your butter, eggs, and milk are at room temperature, they mix more easily, creating a smoother batter that helps your cake rise beautifully. This is one of the top vanilla cake tips you won’t want to overlook!
Why is it important to use room temperature ingredients when baking?
To prevent a dense vanilla cake, be sure not to overmix your batter. Overmixing can develop gluten in the flour, making your cake tough. Mix just until the ingredients are combined, and you'll enjoy a light, fluffy texture that's simply irresistible!
How can I avoid a dense cake when baking?
Choosing the right baking pan can make a big difference! Opt for light-colored, shiny pans that reflect heat for even baking. Dark pans can lead to over-browning, so stick to those shiny ones for that perfect vanilla cake you’re aiming for. Your cake will thank you!
What baking pan should I use for the best results?
Don't be discouraged if your first vanilla cake isn't a masterpiece! Baking is all about practice. Reflect on what went wrong and adjust your techniques next time. Remember, practice makes perfect, and every cake is a step towards improving your baking skills!
What should I do if my vanilla cake doesn’t turn out perfectly the first time?